Have you ever heard of CSN Stores? I hadn't until recently. They have over 200 stores to shop from. You can get anything from cookware to a wooden swing set for your kids. I am excited to give one of you a chance to win a $35 gift code to CSN Stores. Only rule be a follower of Mommy Creations then go to CSN Stores and leave a comment saying something you would love to have, not necessarily what you would get if you won, but if money was no issue what would you buy. You have until Friday February 11th to enter.
(Only for US and Canada)
Monday, January 31, 2011
I'm In

I'm super excited and nervous. Everyone is super talented and I want to show that I can keep up with these ladies so I am off to brainstorm my ideas for round one Be Mine Valentine.
Tuesday, January 25, 2011
You Scream, I Scream We all Scream for . . .
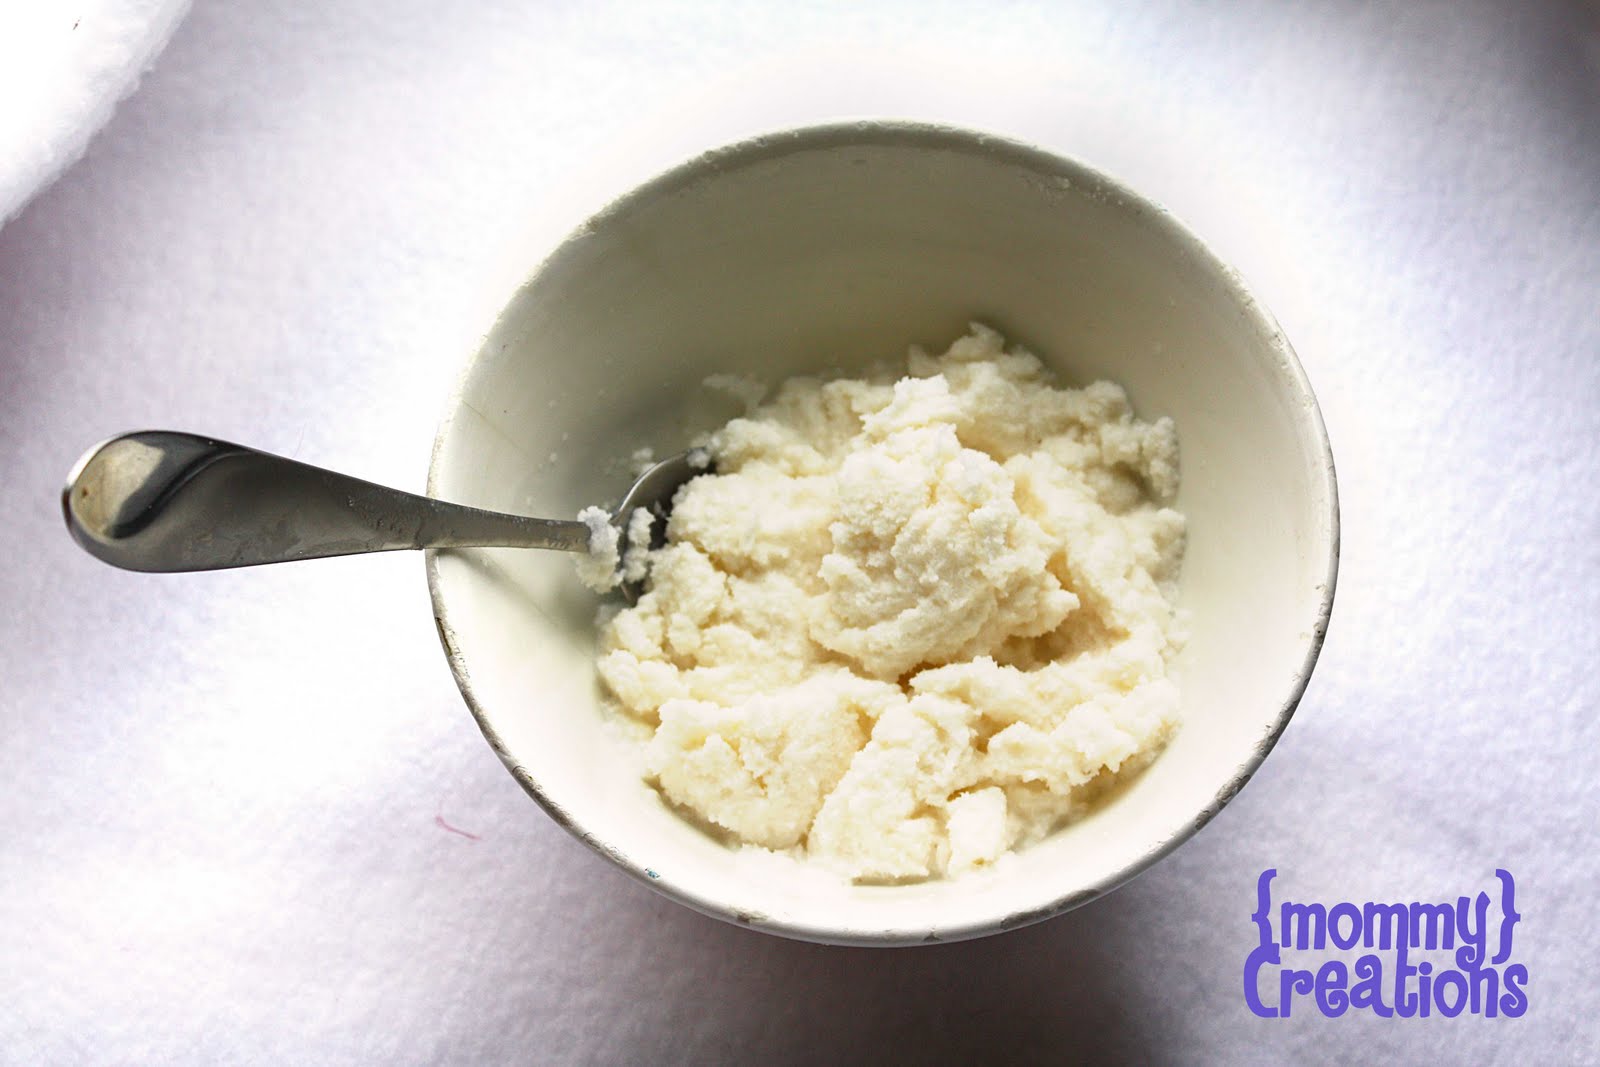 SNOW CREAM. That would be ice cream made out of snow and it taste like the real thing. No really it does and it is so so easy.
 This is the view out of my kitchen window this morning.
 It is snowing for the 4th time in 2 weeks and we are suppose to get another storm tomorrow. Welcome to New England. We must have had a very mild winter last year because this is getting ridiculous. I'm just glad that my child isn't in school yet because with all the snow days the kids around here are still going to be in school come The 4th of July.
 Anyways back to the snow cream. What to do on a snowy day? Well if your me you want to put on multiple pairs of socks and warm fuzzy slippers and sip hot coco because your house is freezing cold (can't seem to get our house warm). If your my daughter you run around it your underwear and t-shirt asking for ice cream. What? Who's child is this. Well lucky for her I just learned about making ice cream out of snow and since we have plenty of freshly fallen snow I decided to go for it.
 So I leaned out my front door (because I was too lazy to put on shoes) and scooped some snow in a bowl. Then I added some sugar (~3 Tbsp) some cream (about 1/4 of a half pint I had left in the fridge that would be 1/8th of a pint or ~4 Tbsp) and then a dash of vanilla. It was that easy and it tasted just like real ice cream I was so surprised. If it is too runny just add some more snow. IF you can't tell I'm not good with recipes I just add a little of this and a little of that until it looks good. So if you are lucky enough to be buried by some freshly fallen snow go make yourself some snow cream.
Linking up with these lovely ladies.
Sunday, January 23, 2011
Valentines Print Art
I saw on some show that print art was going to be big in 2011 so I thought I would jump on the band wagon. My mother-in-law is always singing this song to the kids so I thought that she might enjoy this for Valentines.

Then sticking with the song theme I made this one for my mom.

What do you think? My husband doesn't get it. Maybe he will like it more when I print them out. I haven't printed them out yet because I am still deciding on what size, I guess I will just go through my box of frames and see what size I have. I don't know how to make a little download button (if you do feel free to tell me), but I think if you click on the image twice it will be the right size to print out your self or leave me your email in the comments and I will email you a copy.
Linking up here.
Saturday, January 22, 2011
Flashback Friday: Felt Valentines Purse
This is the Valentines Purse I made my daughter last year and she loves it so I am sharing it again this year.
 I was putting together my daughters valentines for her playgroup the other day and decide she needed something to hold her valentines in. Since she is not in school with a desk to put a fancy valentines box on like we use to do in school, I decided to make her a purse that she can wear and carry her valentines in.
 I just used some felt I had laying around (must have bought it for something, but forgot what and it was all valentines colors so perfect). I cut out 3 large hearts and sewed the sides together. It was that easy. I added some ribbon for purse handles and a few extra little hearts to the front to dress it up a little.
 I did 3 hearts so that there would be 2 pockets. One for the valentines she was handing out and one for the valentines she was receiving.
 My valentines were very simple. Just glued an embossed pink heart onto some purple card stock ruffed up the edges added a little pink ink to the ruffed up edges and then stuck a sucker in them.
 And for the friends that can't have candy some valentine pencils.
 Addi loved her purse and wore it around all day.
Now just to decide what to do this year any suggestions?
Linking up here.
 I was putting together my daughters valentines for her playgroup the other day and decide she needed something to hold her valentines in. Since she is not in school with a desk to put a fancy valentines box on like we use to do in school, I decided to make her a purse that she can wear and carry her valentines in.
 I just used some felt I had laying around (must have bought it for something, but forgot what and it was all valentines colors so perfect). I cut out 3 large hearts and sewed the sides together. It was that easy. I added some ribbon for purse handles and a few extra little hearts to the front to dress it up a little.
 I did 3 hearts so that there would be 2 pockets. One for the valentines she was handing out and one for the valentines she was receiving.
 My valentines were very simple. Just glued an embossed pink heart onto some purple card stock ruffed up the edges added a little pink ink to the ruffed up edges and then stuck a sucker in them.
 And for the friends that can't have candy some valentine pencils.
 Addi loved her purse and wore it around all day.
 Now just to decide what to do this year any suggestions?
Linking up here.
Saturday, January 8, 2011
Tulle Pom pom Balls-Tutoial
 I had all this stuff to make some pom pom ornaments for my tree, but I never got to it. I never got to a lot of things I wanted to. That always seems to happen around the holidays. Anyways, I was browsing around blog land and saw these pom poms made out of old t-shirts and thought hey I can make my Tulle Pom Pom Balls for Valentines instead of Christmas. Valentines Day is after all my favorite holiday. Linda probably has a better tutorial but here is what I did.
 You only need some tulle and cardboard templates (decorations on template not required unless you have a 2 yo helper like me). Oh and some scissors. If you don't have the tulle on a roll like this don't worry just cut your tulle into strips and it will work the same. The cardboard rings can be made into any size you want, but be careful the smaller you go the harder it is (I will show you how I made my smaller ones).
 First place a piece of tulle (or string or yarn whatever you want it to hang from) between the 2 pieces of cardboard.
 Next just wrap the Tulle around the cardboard rings. I wrapped it around 3 times to get the fullness I wanted.
 This is what mine looked like, but you can wrap it as much or as little as you want its your craft. I also tied the 2 ends of the piece between the cardboard together to help hold it together for the next step.
 My little princess wanted in on the picture taking action. She was my helper after all.
 Next cut around the outside between the 2 pieces of cardboard. Make sure you pull your middle piece and hold down all the tulle to keep it from falling apart (this is why it is harder the smaller you go it falls apart more easily).
 Once you have it all cut pull your piece in the middle tight and fluff up your pom pom. Now you can do whatever you want with them. I think I am going to make some sort of Valentines door hanger with them. We will see, but in the mean time they make cute little hair accessories.
  I just tied the pom poms on one of my daughters headbands. I liked the look of 2 pom poms of different sizes so I made a smaller one as well.
 For the smaller pom pom I just wrapped the tulle around my fingers, then I took another piece of tulle and tied it around the middle and cut the ends and fluffed just like the first one.
 There you go 2 cute pom poms to use in any way you want. Remember this can be done with many types of material. Tulle, yarn, old t-shirts whatever your heart desires.
Subscribe to:
Posts (Atom)